User Management
The User Management module is the central hub for managing all members within the Kameti Ledger ecosystem. It serves as the foundation for all financial operations, as every participant must be registered as a user before they can be enrolled in a Kameti.
Overview of User Module
In Kameti Ledger, users are more than just accounts; they are the verified members of your community fund.
- Mandatory Registration: Every new member must register here first to participate.
- KYC-First Approach: To maintain trust and transparency, every user goes through a mandatory document verification process.
- Enrollment Prerequisite: To enroll someone in a Kameti, you must first create their user profile in this module.
Key Features
The User Management module provides a comprehensive suite of tools to track and manage member activities:
1. User Dashboard & View Details
Access a high-level overview of all registered members. From the dashboard, you can drill down into any user’s profile to see their complete history.
2. Documents Tab
A dedicated section to view and manage all KYC documents uploaded during registration, including Aadhar cards and profile pictures.
3. Enrollments Tab
Tracks how many Kametis a user is currently participating in. It provides a progress bar for each enrollment, showing exactly how many installments have been paid versus the total duration.
4. Payments Tab
A transparent log of all payments made by the user across all their enrollments. This eliminates disputes and provides a clear financial trail.
5. Activity Timeline
A chronological “logbook” of everything the user has done in the application—from registration and document updates to payment submissions and withdrawal requests.
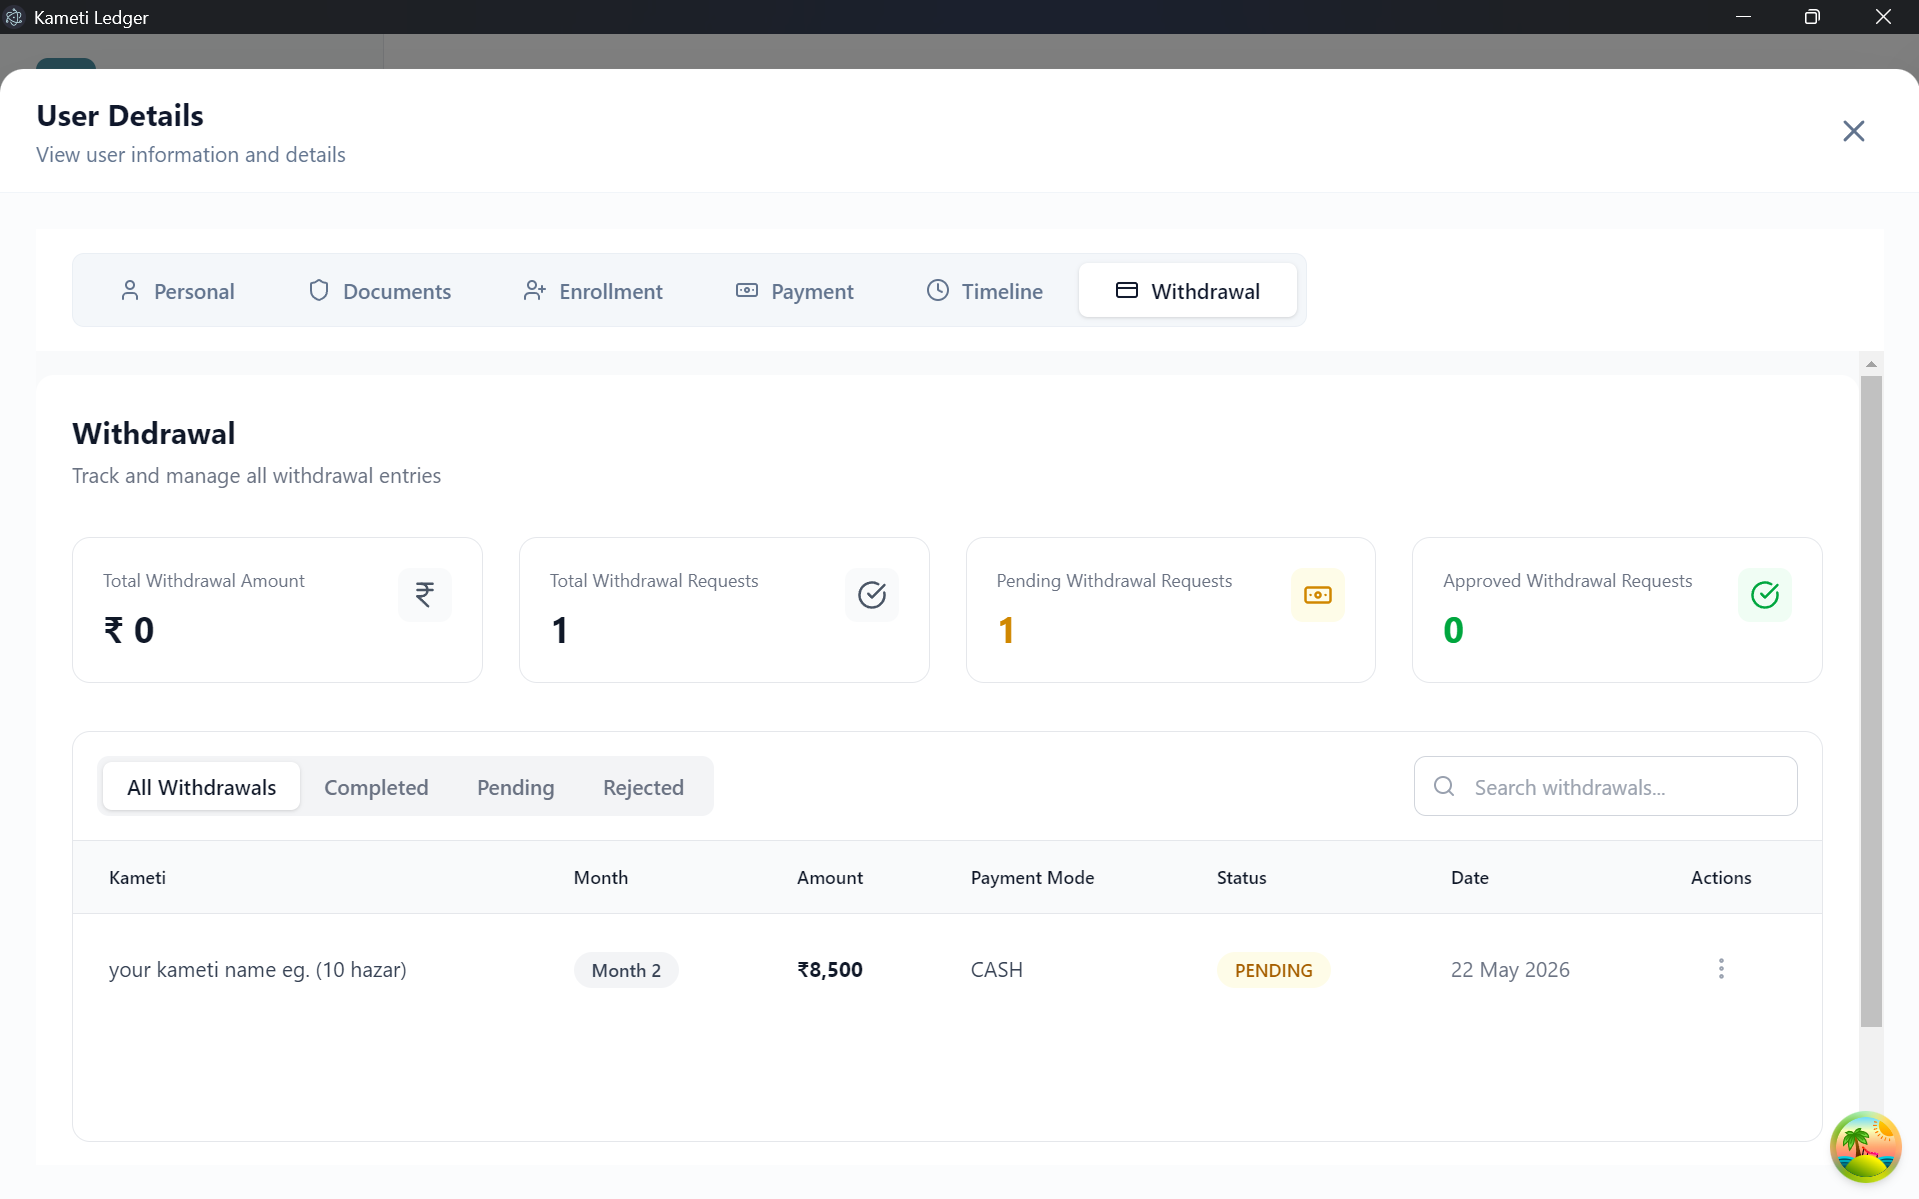
6. Withdrawal Tab
Shows detailed information about any funds the user has withdrawn from their Kametis, including dates, amounts, and approval status.
Creating a New User (Step-by-Step)
The registration process is designed to be thorough yet user-friendly, ensuring all necessary data is captured.
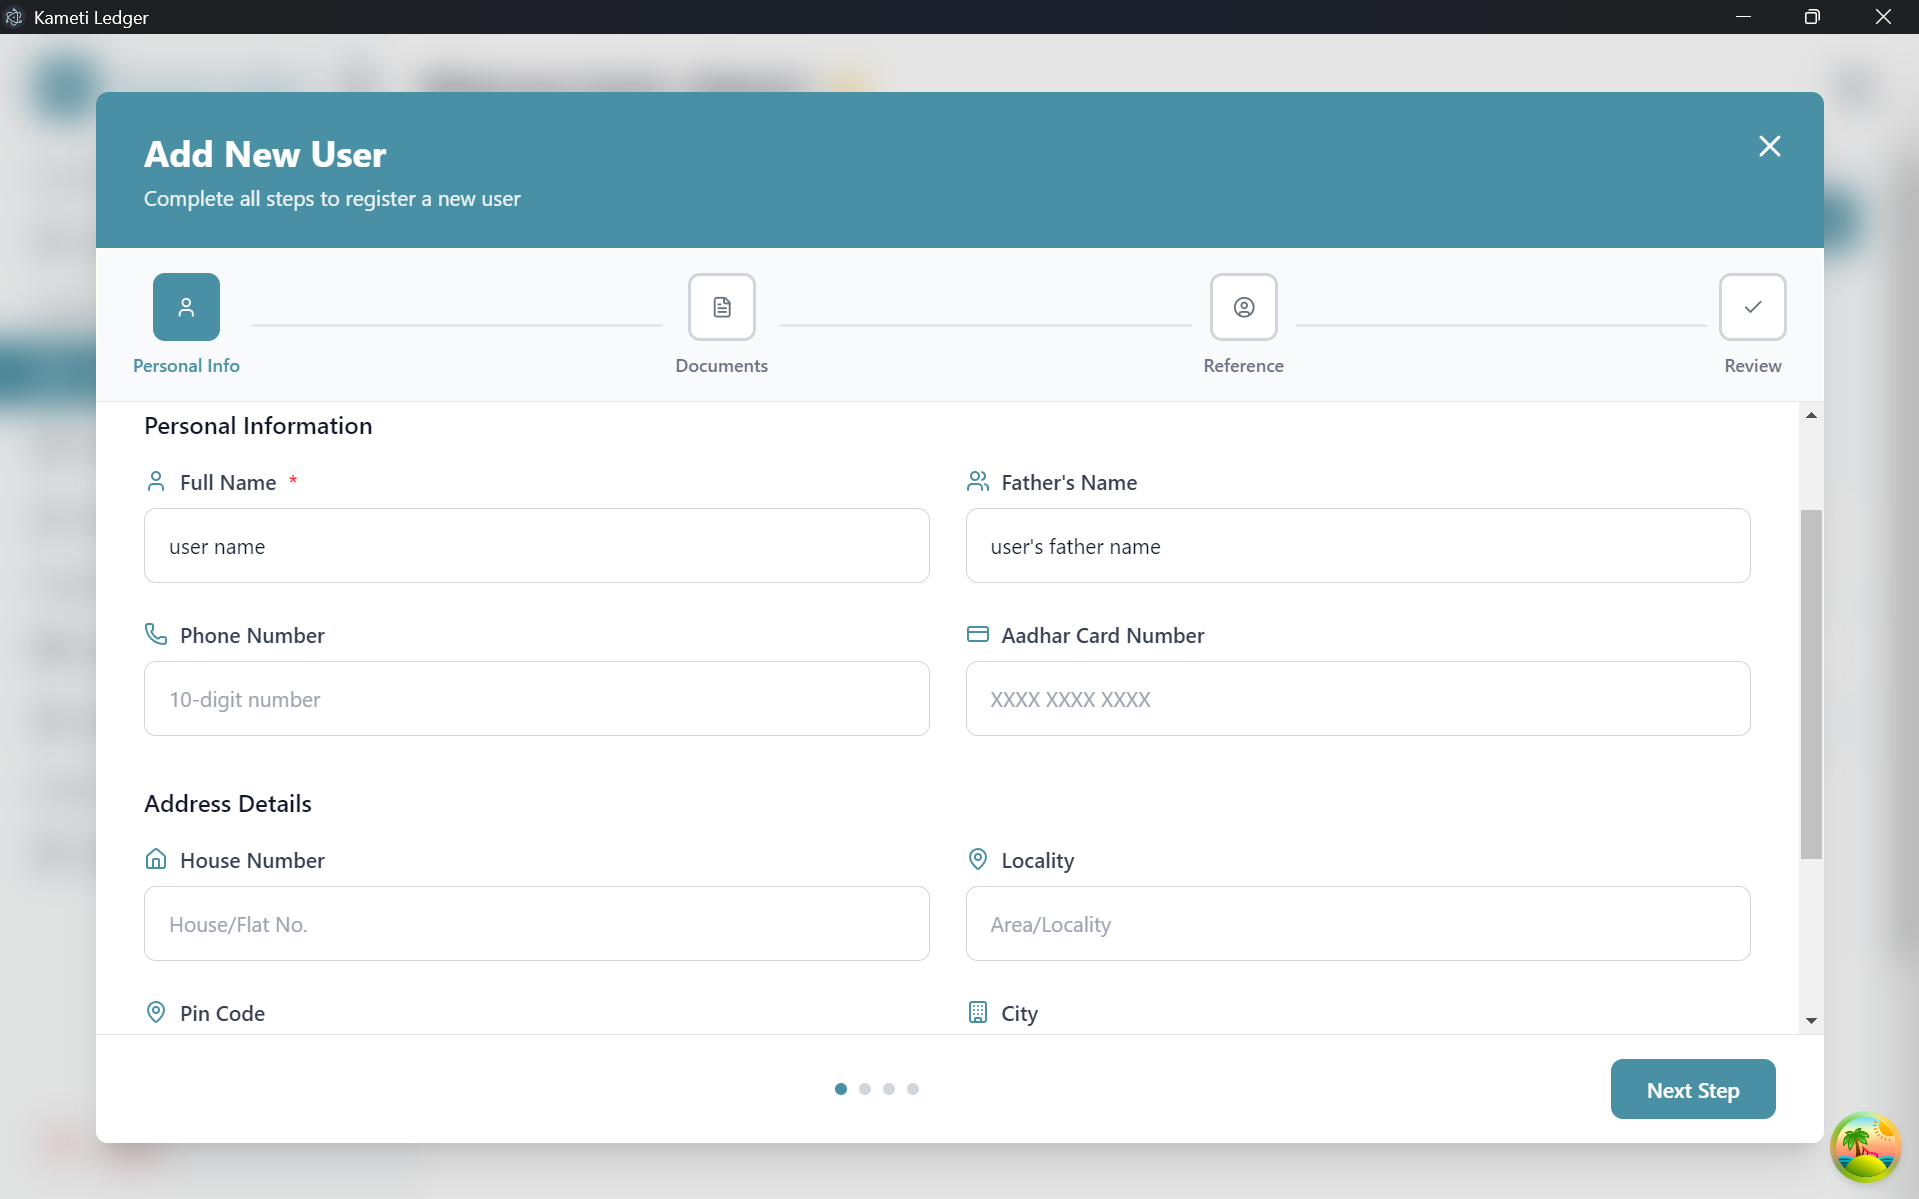
Step 1: Personal Information
Start by entering the basic identity and contact details of the user. This includes their full name, father’s name, phone number, and Aadhar number, along with their current residential address.
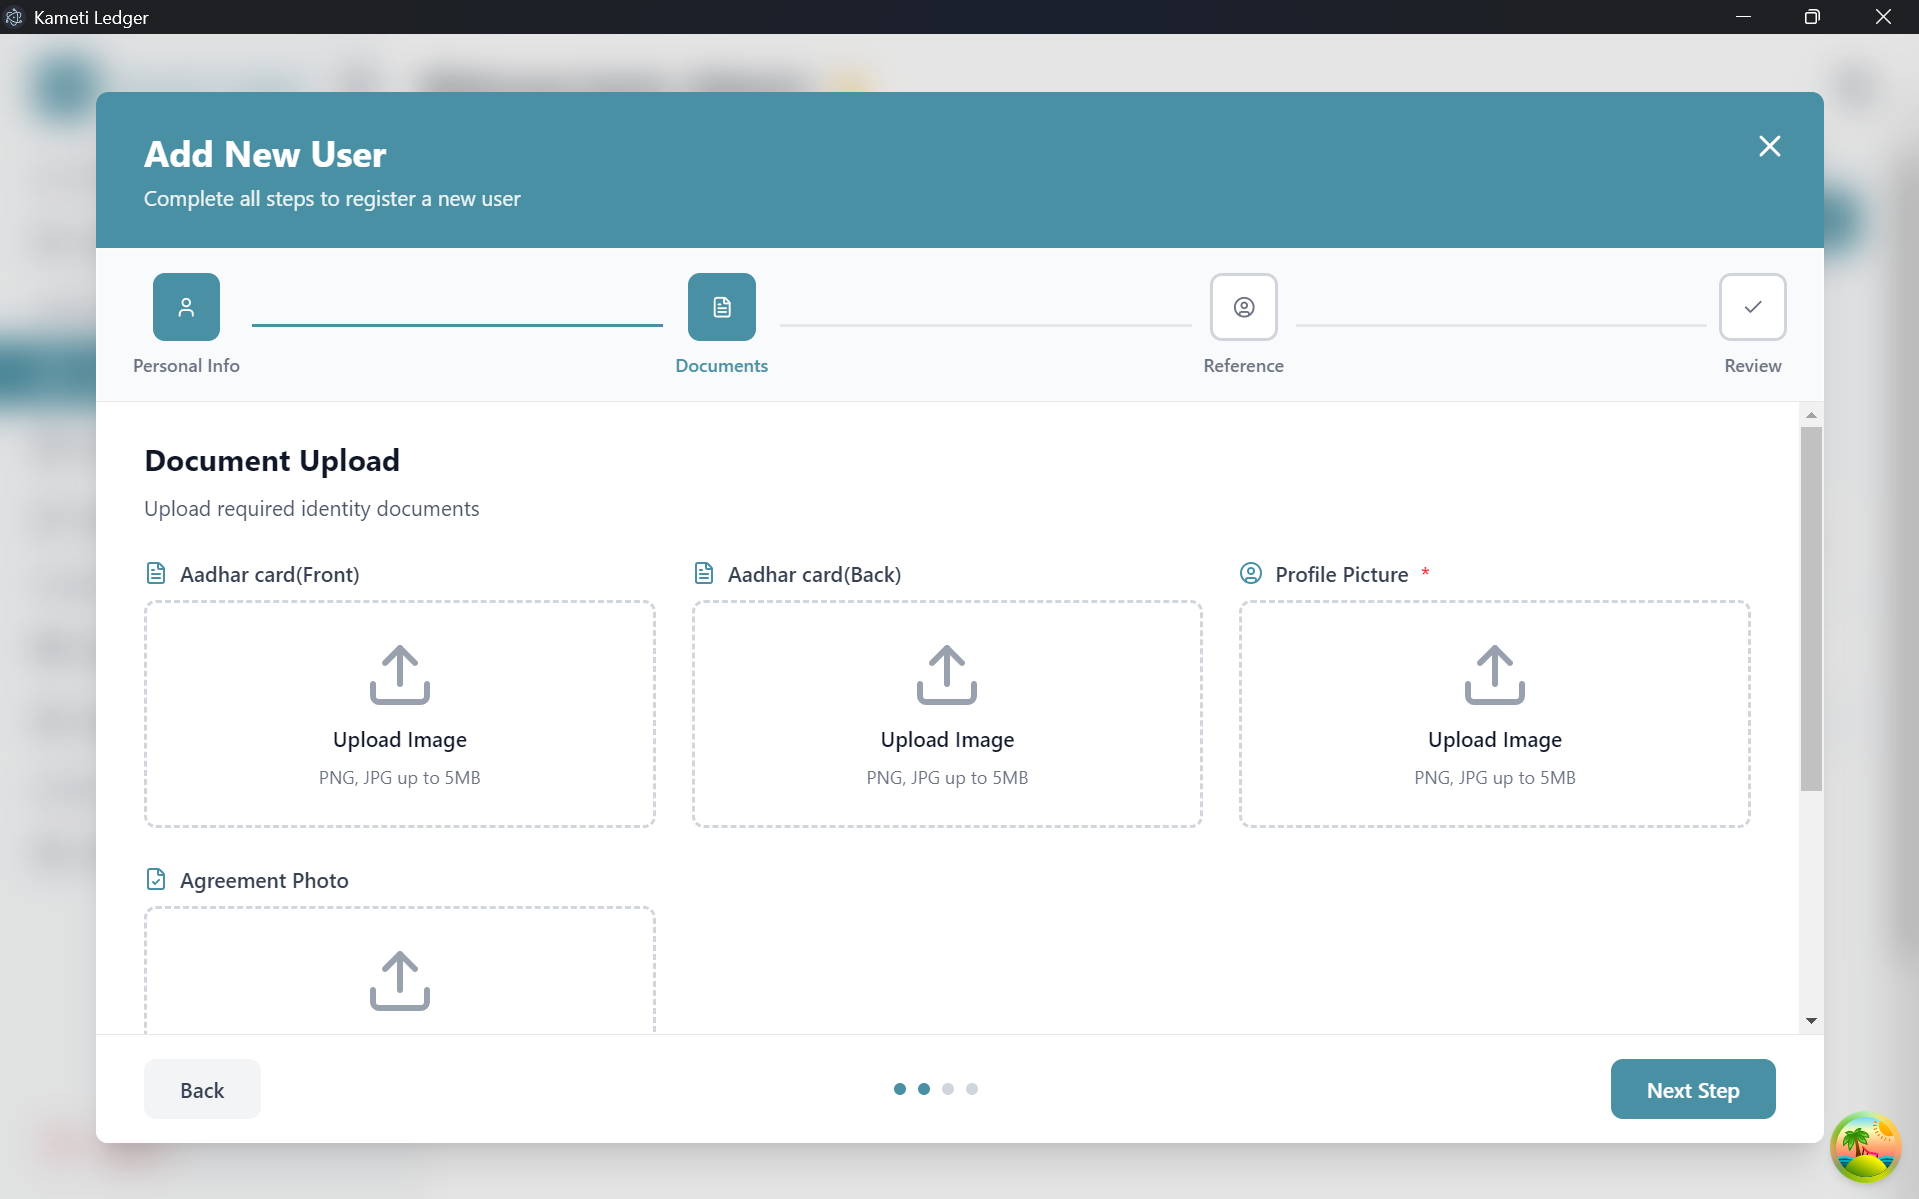
Step 2: Document Upload
Upload the required identification documents to complete the KYC process. This step ensures that every member is verified and accountable.
- Aadhar Card (Front & Back)
- Profile Picture
- Agreement Photo
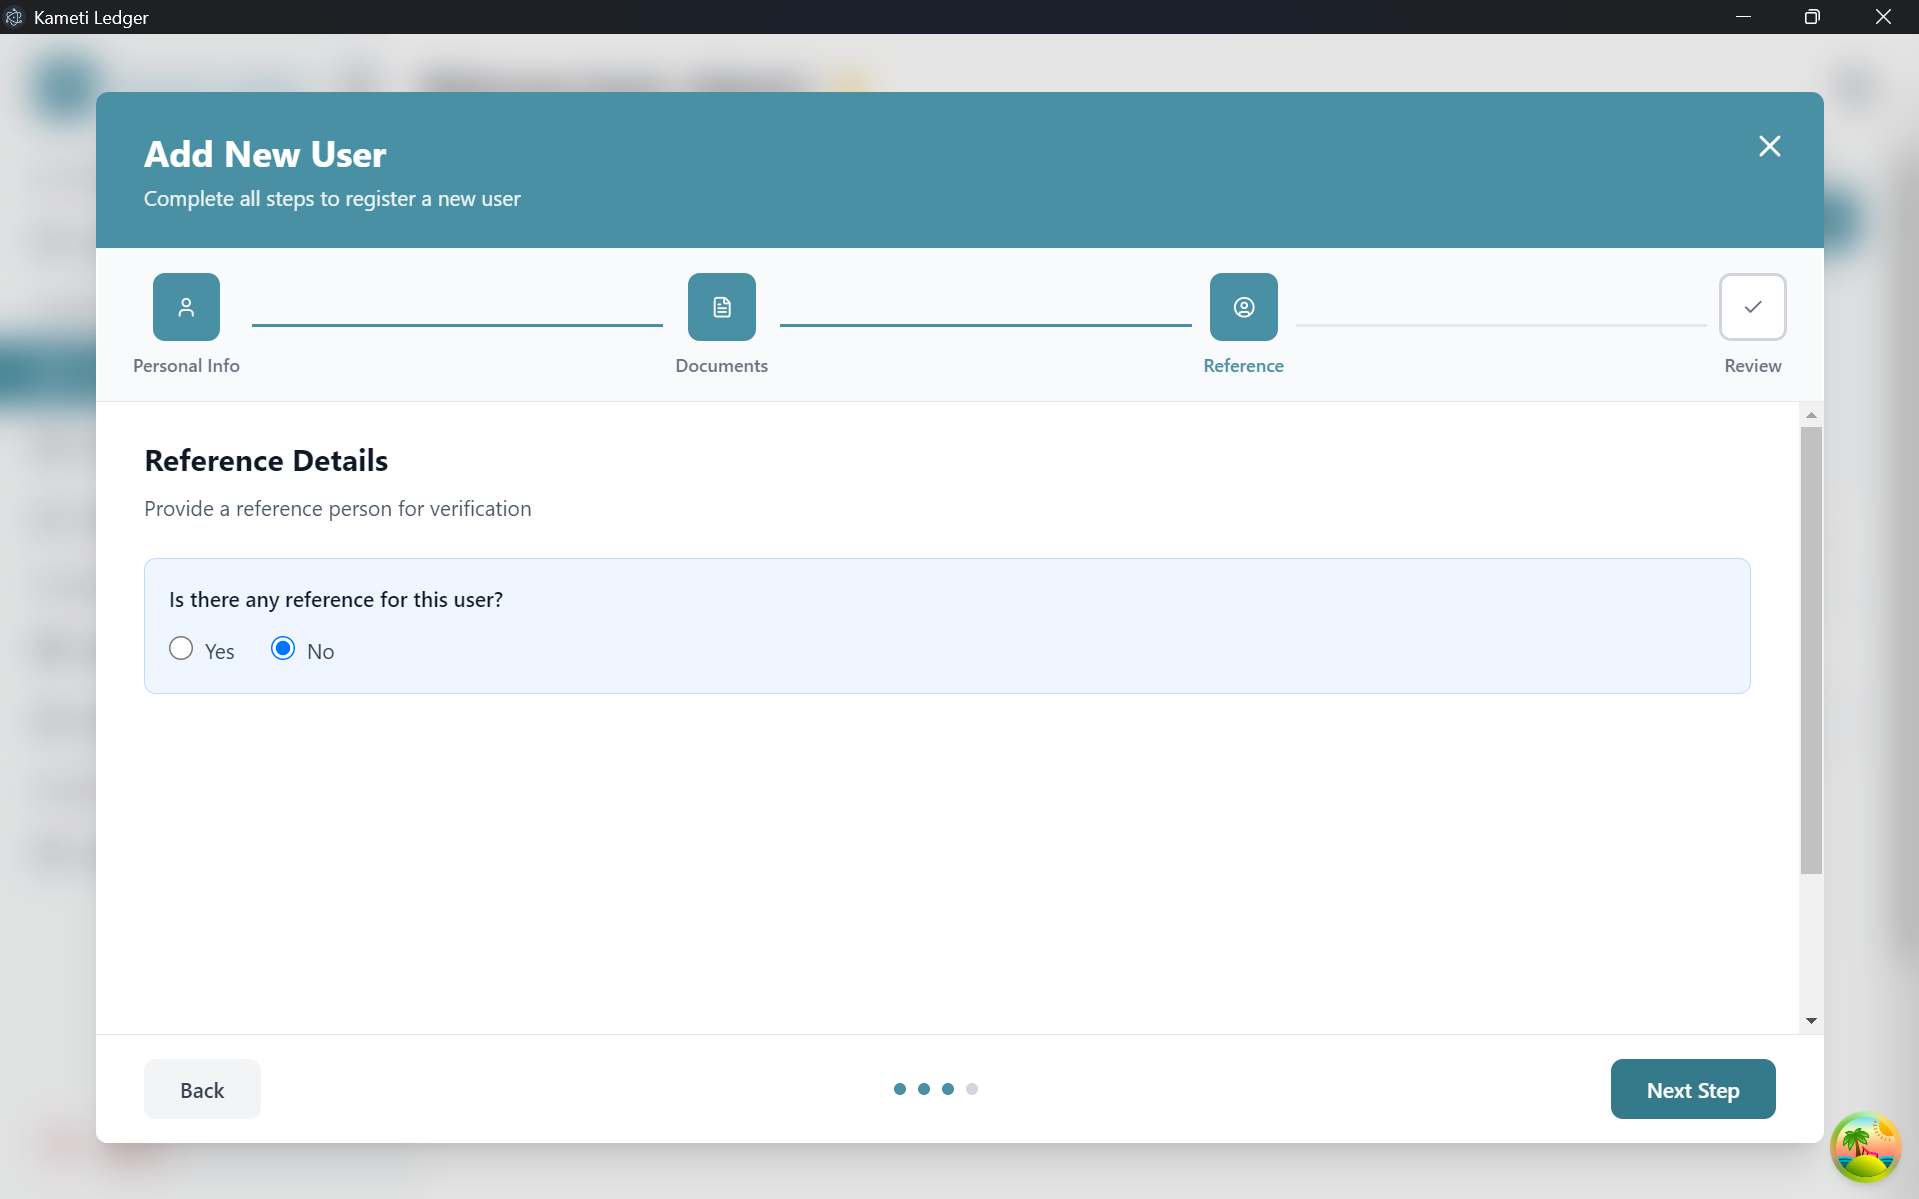
Step 3: Reference Details
In cases where a user might not have all details immediately available or for additional security, you can add a reference person. This person acts as a guarantor or point of contact for verification.
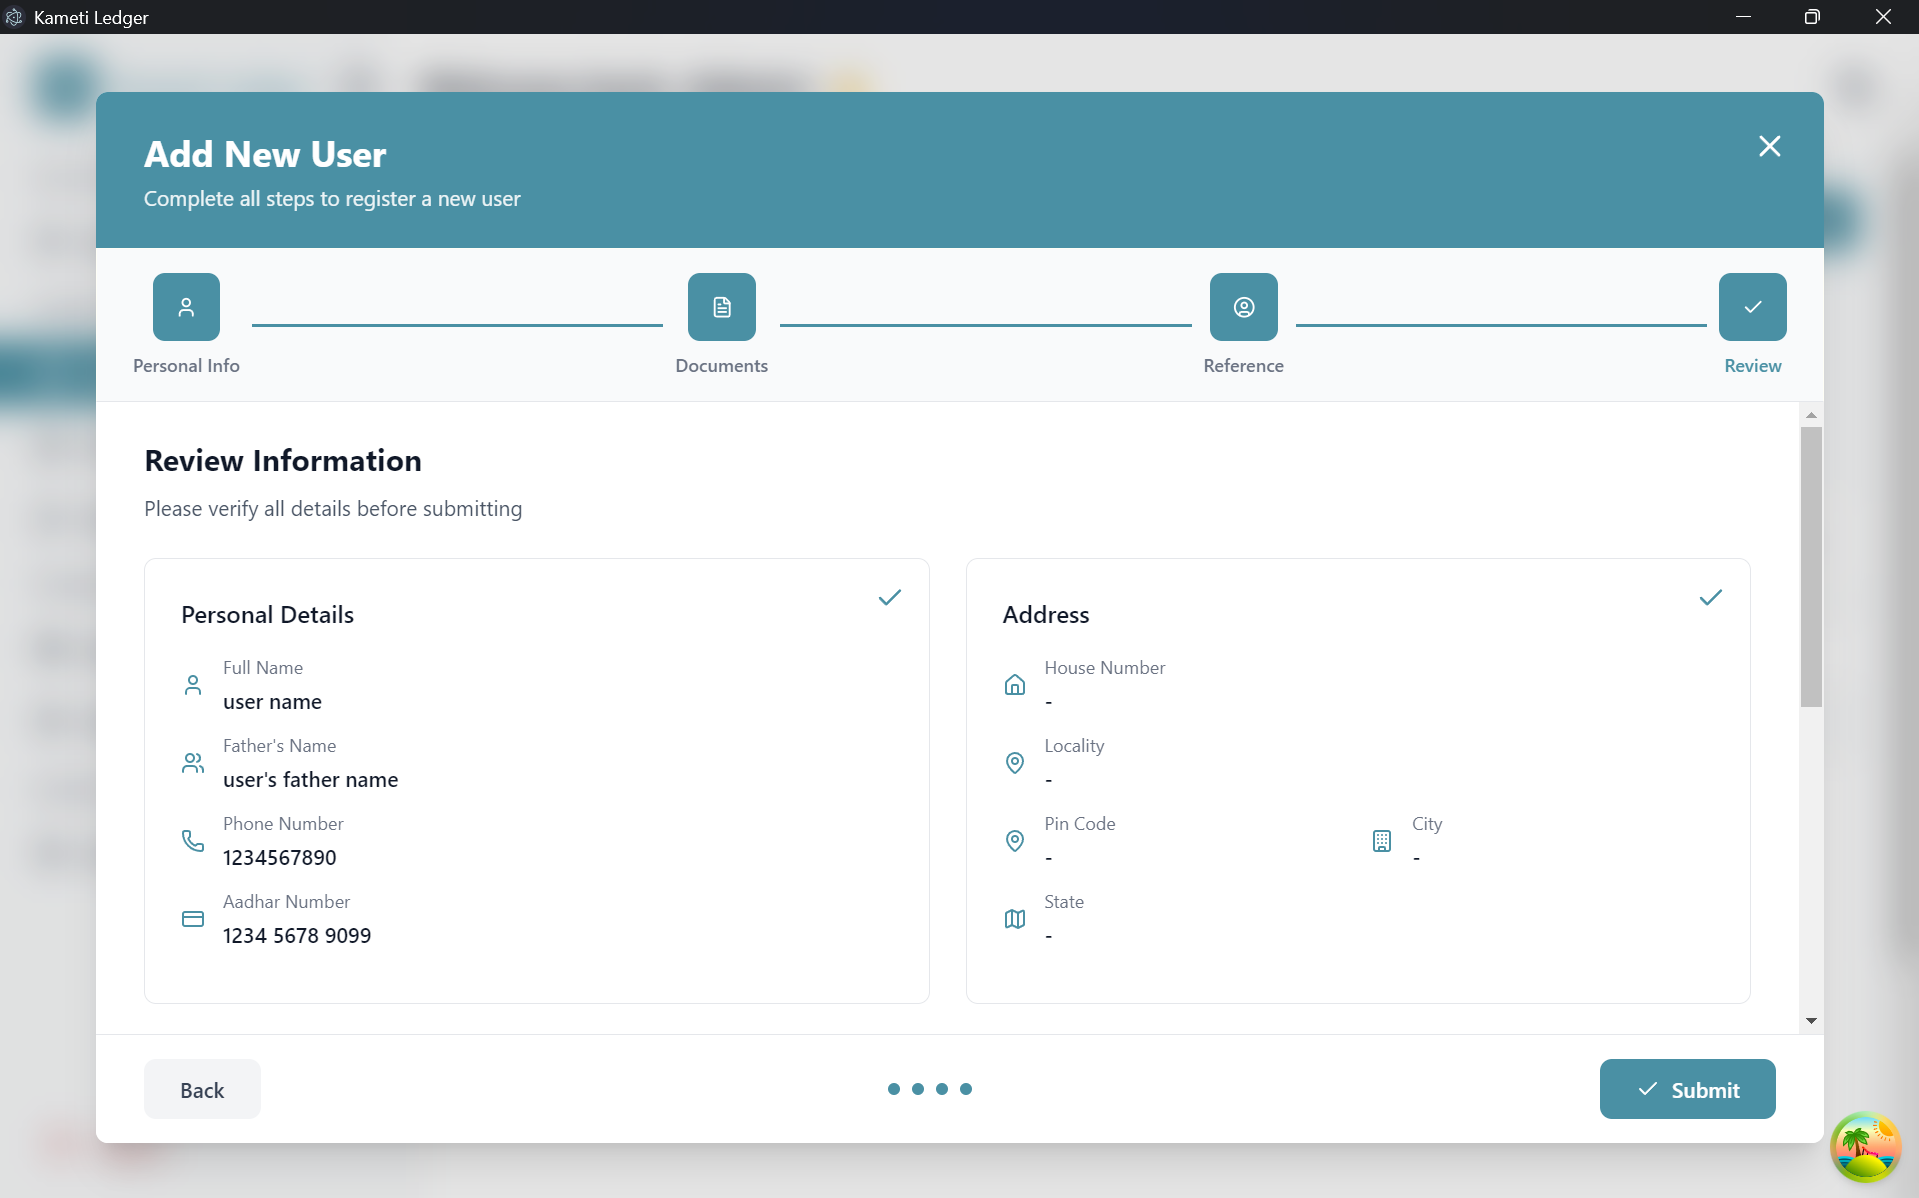
Step 4: Review & Confirm
Before final submission, review all entered details on a single page. This “Review” step allows you to double-check information and go back to previous steps if corrections are needed.
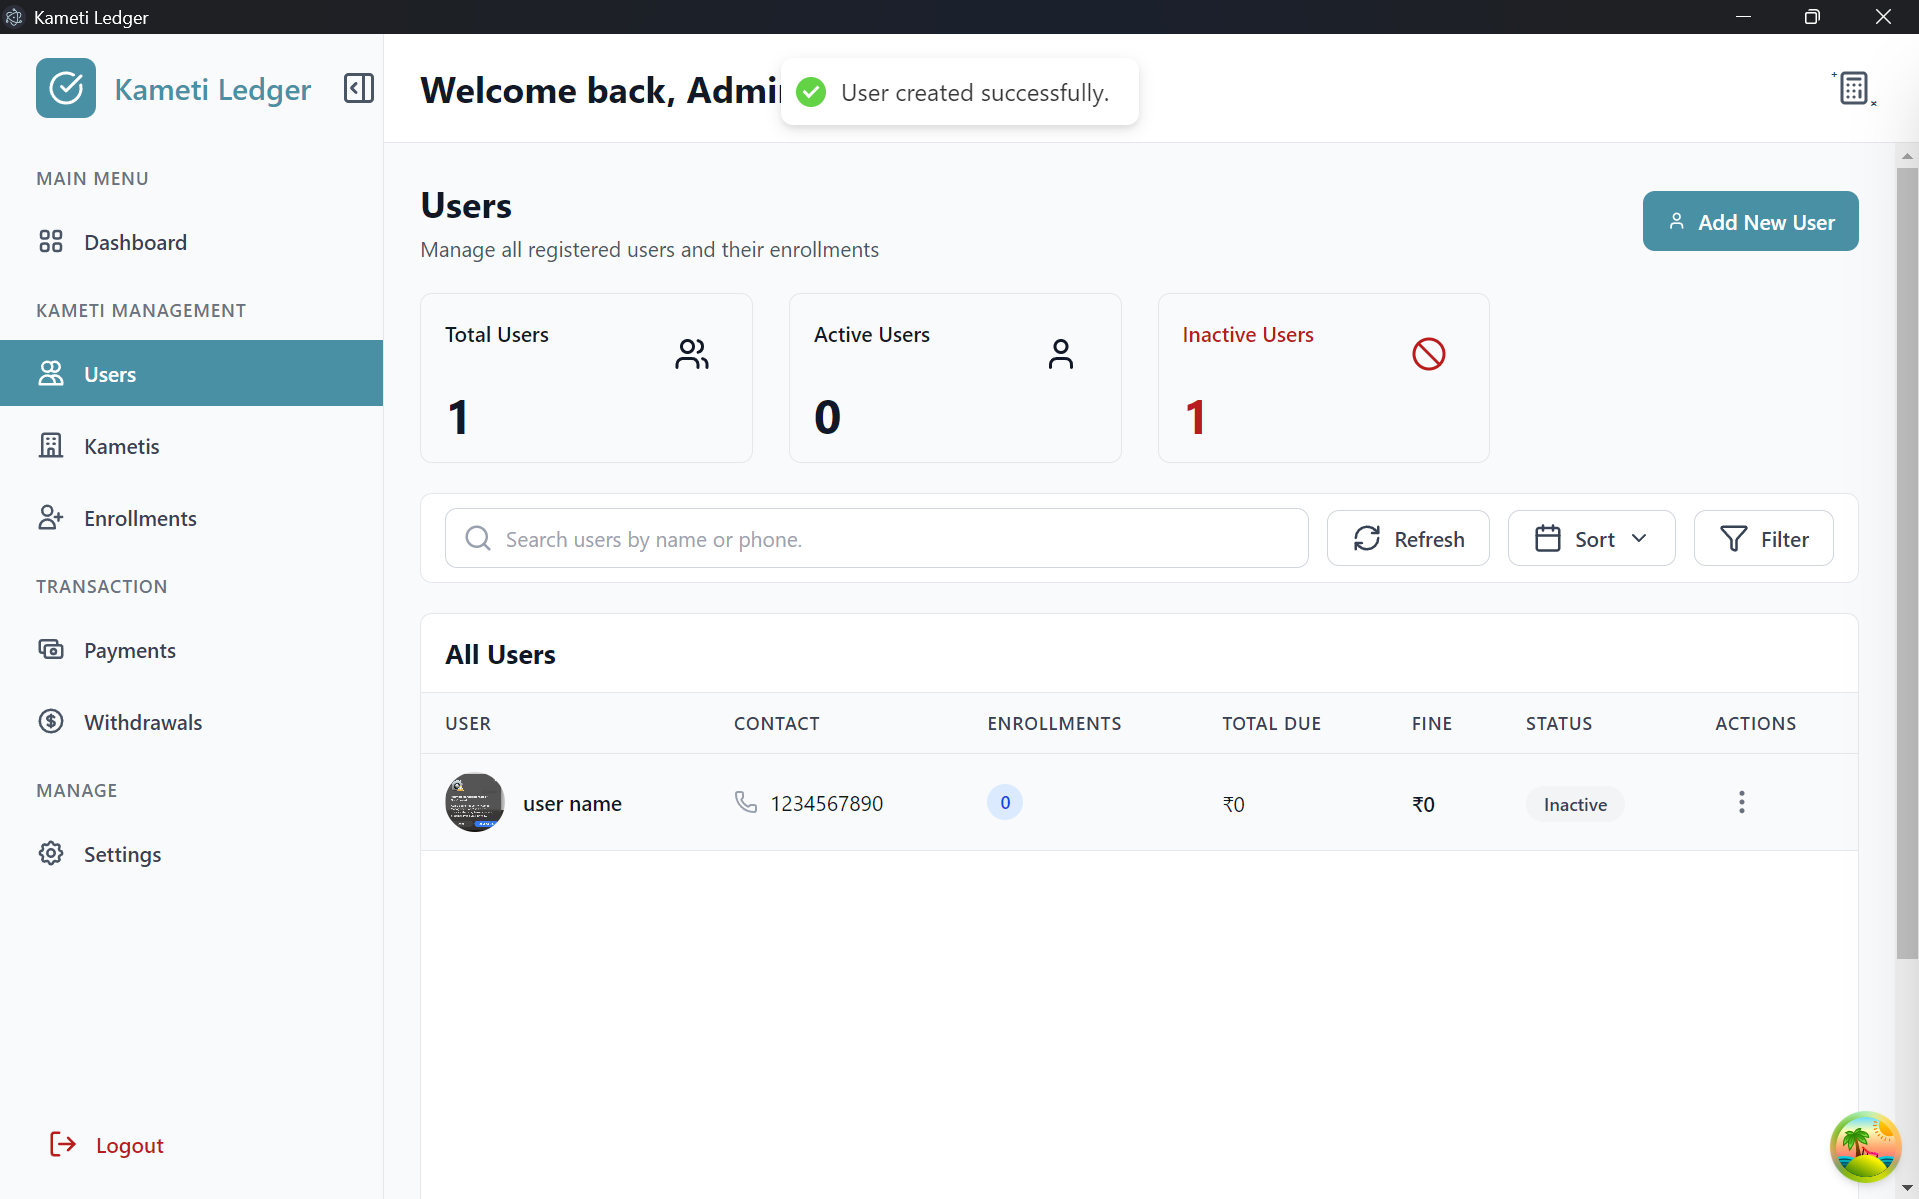
Step 5: User Dashboard
After successful registration, the user will appear in the central Users list. From here, you can manage their status, view their total due amount, and see an overview of their enrollments at a glance.
Managing User Details
The Users Dashboard provides a quick-action menu for every member. By clicking the three dots (⋮) in the “Actions” column of a particular user, you can access critical management tools:
- Enroll: Quickly add the user to an active Kameti cycle.
- View: Open the comprehensive User Details profile.
- Edit: Update user information or KYC documents.
- Add Payment: Directly record a monthly installment for the user.
User Details Deep Dive
When you click View from the actions menu, a detailed profile modal opens, organized into several specialized tabs:
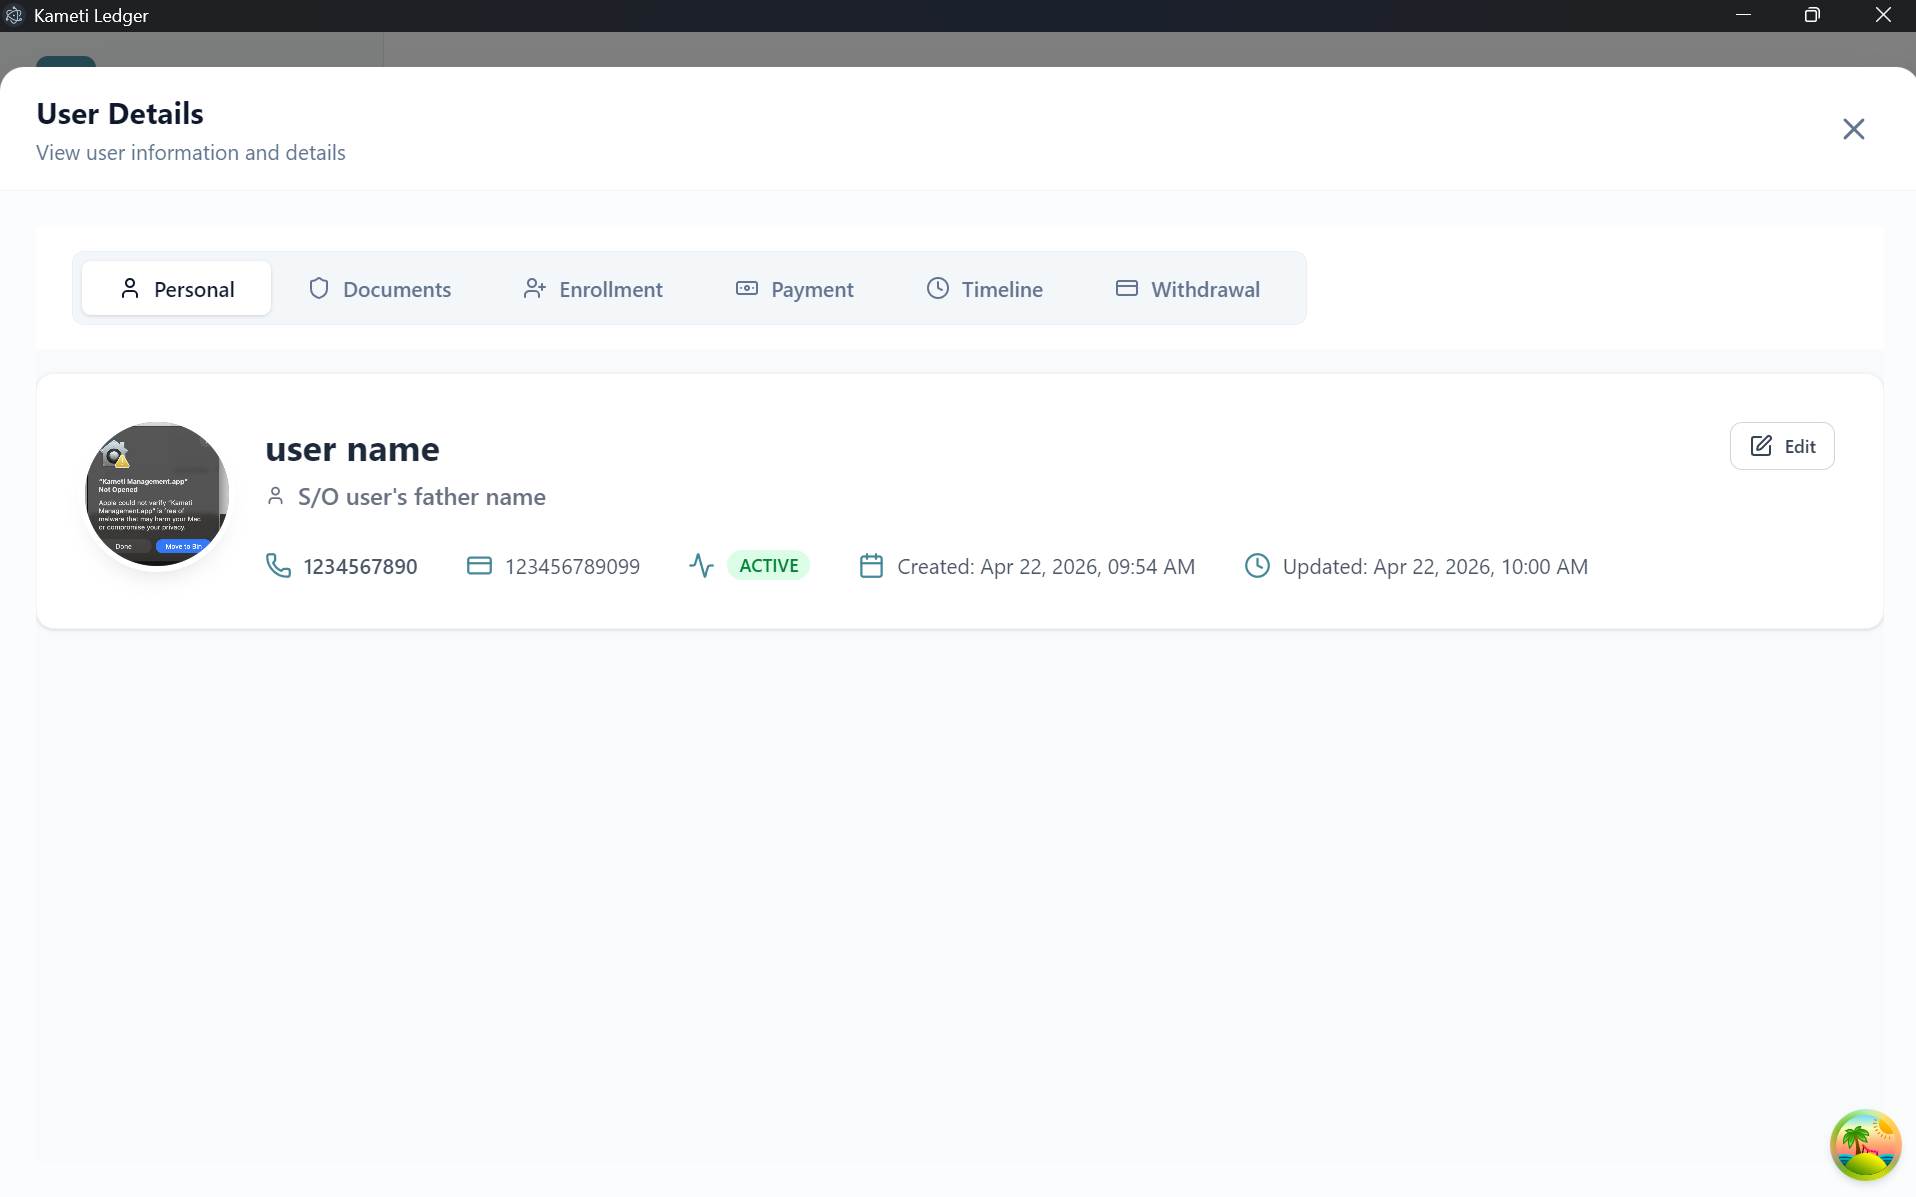
1. Personal Tab
This is the landing page of the user profile. It shows a summary of the user’s identity, contact information, and current status (Active/Inactive). You can also initiate an Edit from this view to update basic details.
2. Documents Tab
View all identification documents uploaded during the registration process. This serves as a quick reference for KYC verification without needing to navigate away from the user profile.
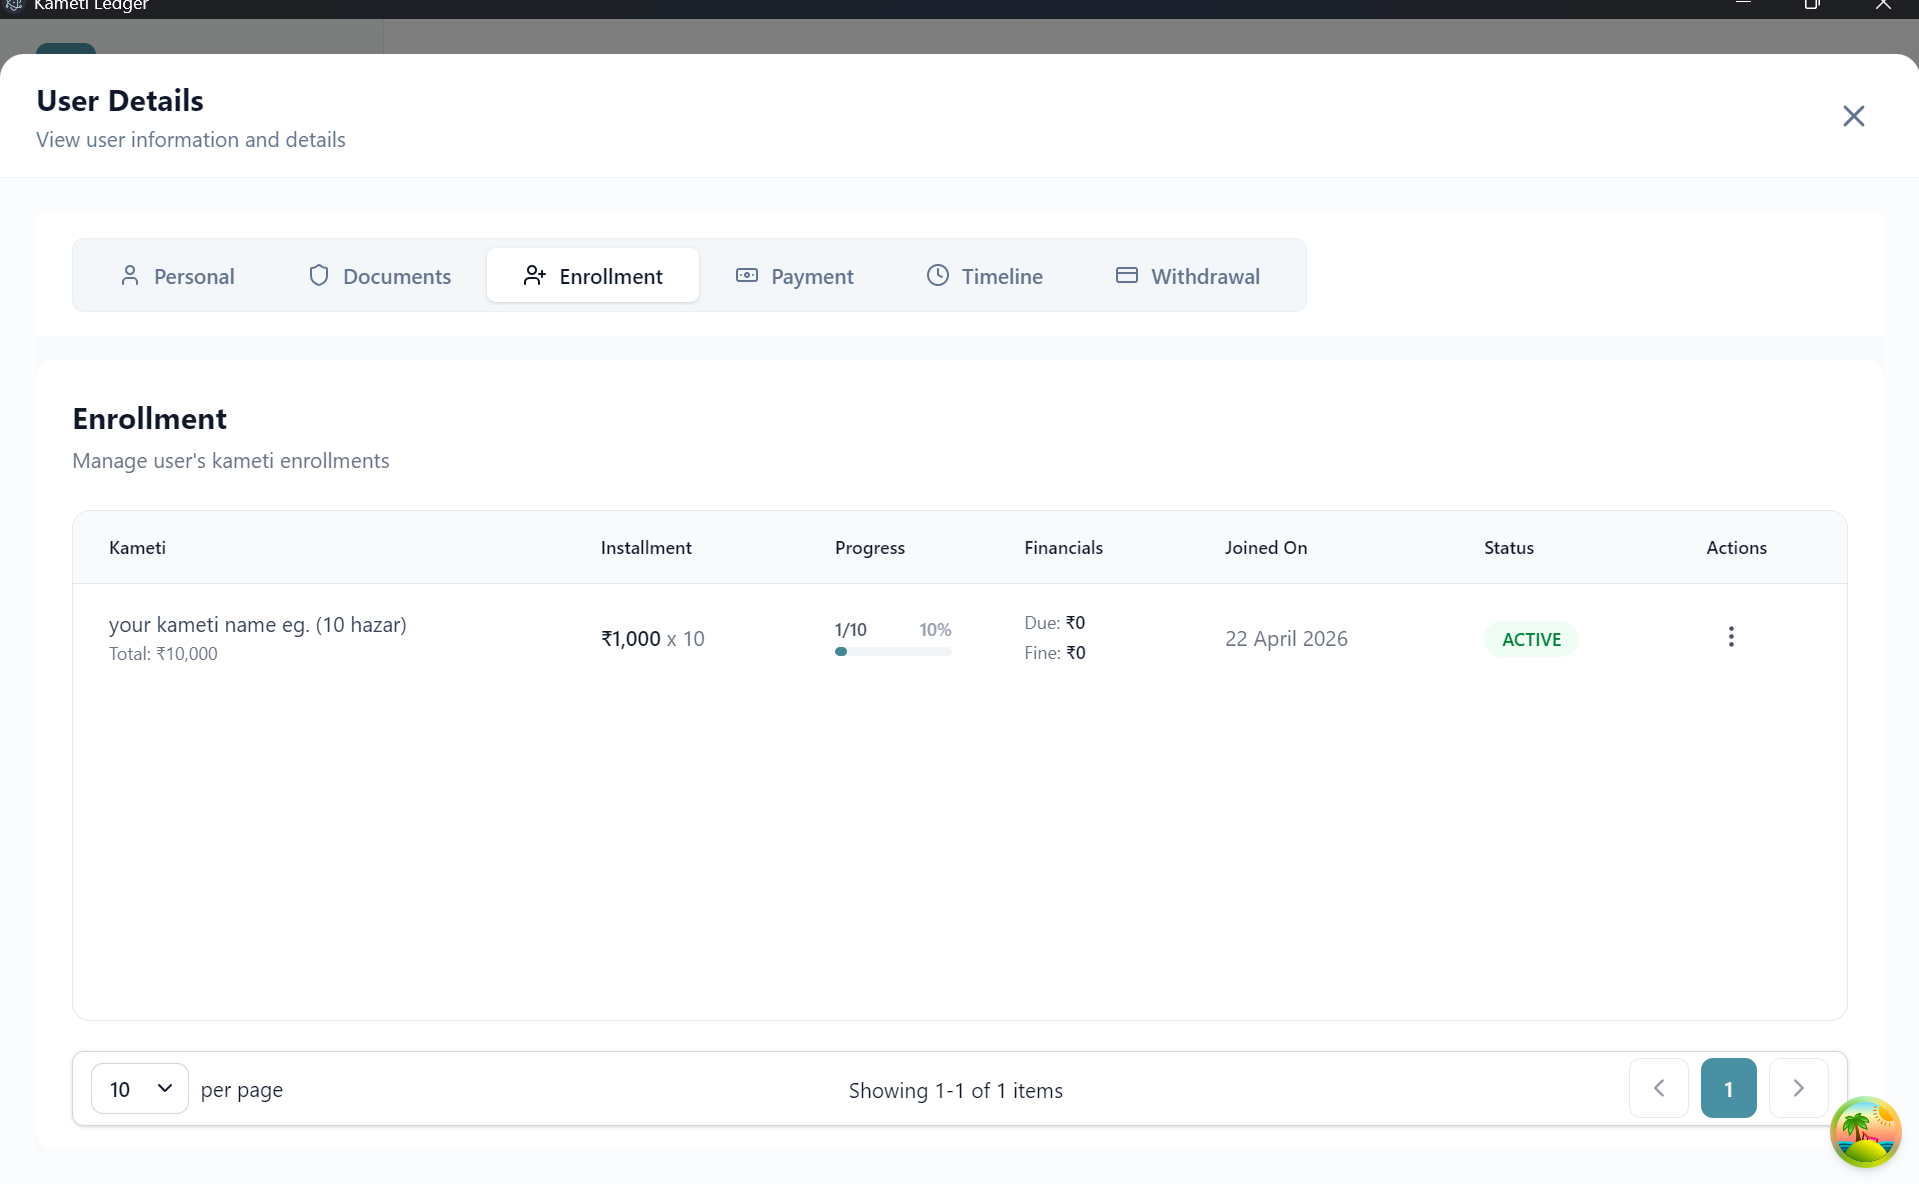
3. Enrollment Tab
This tab lists all Kametis the user is currently or previously enrolled in. It provides a visual progress bar (e.g., 1/10 months completed) and a financial summary showing the installment amount and any pending dues or fines.
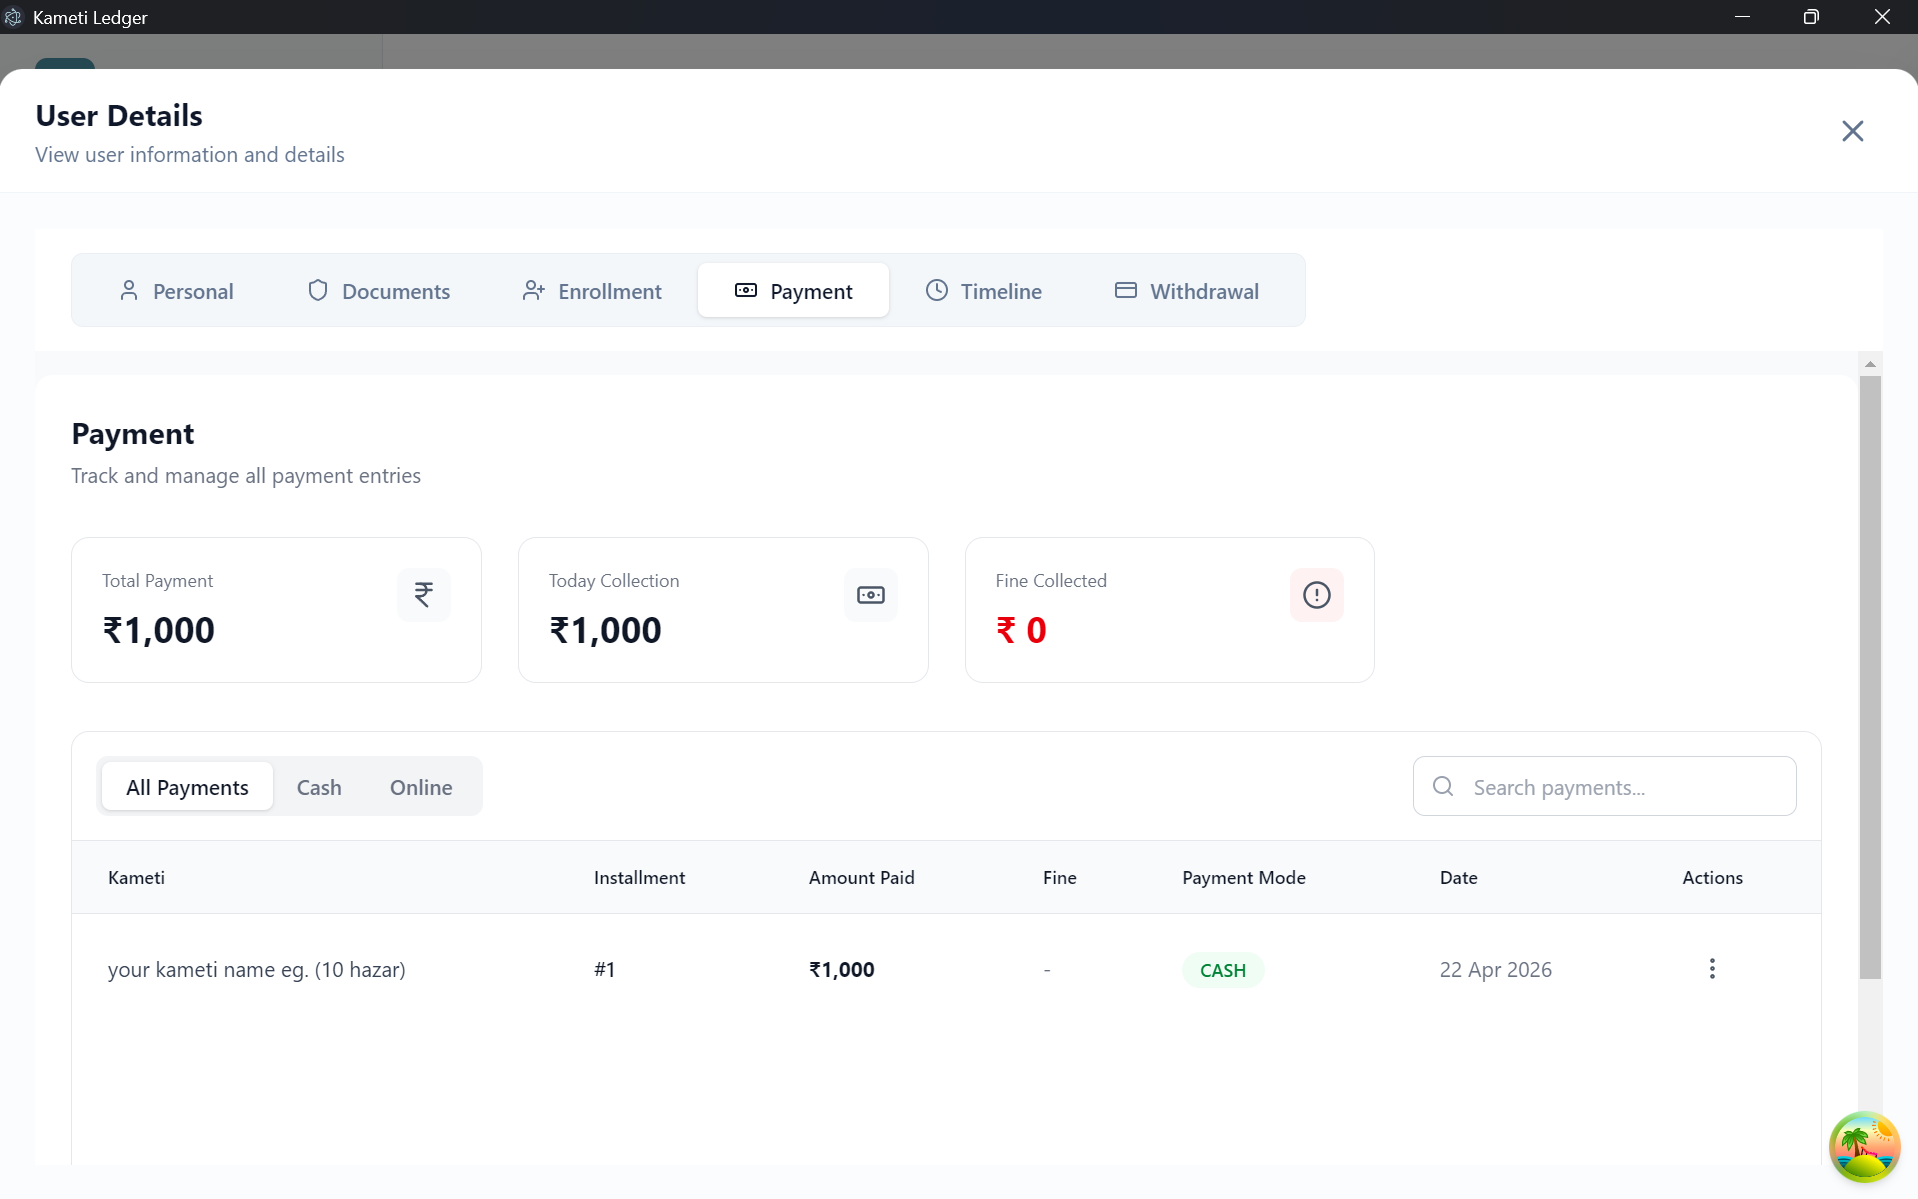
4. Payment Tab
A dedicated financial ledger for the specific user. It displays:
- Total Payment: Cumulative amount paid by the user.
- Today’s Collection: Payments made on the current date.
- Fine Collected: Total penalties paid for late installments.
- Transaction List: A detailed table showing each installment, the amount paid, payment mode (Cash/Online), and the date.
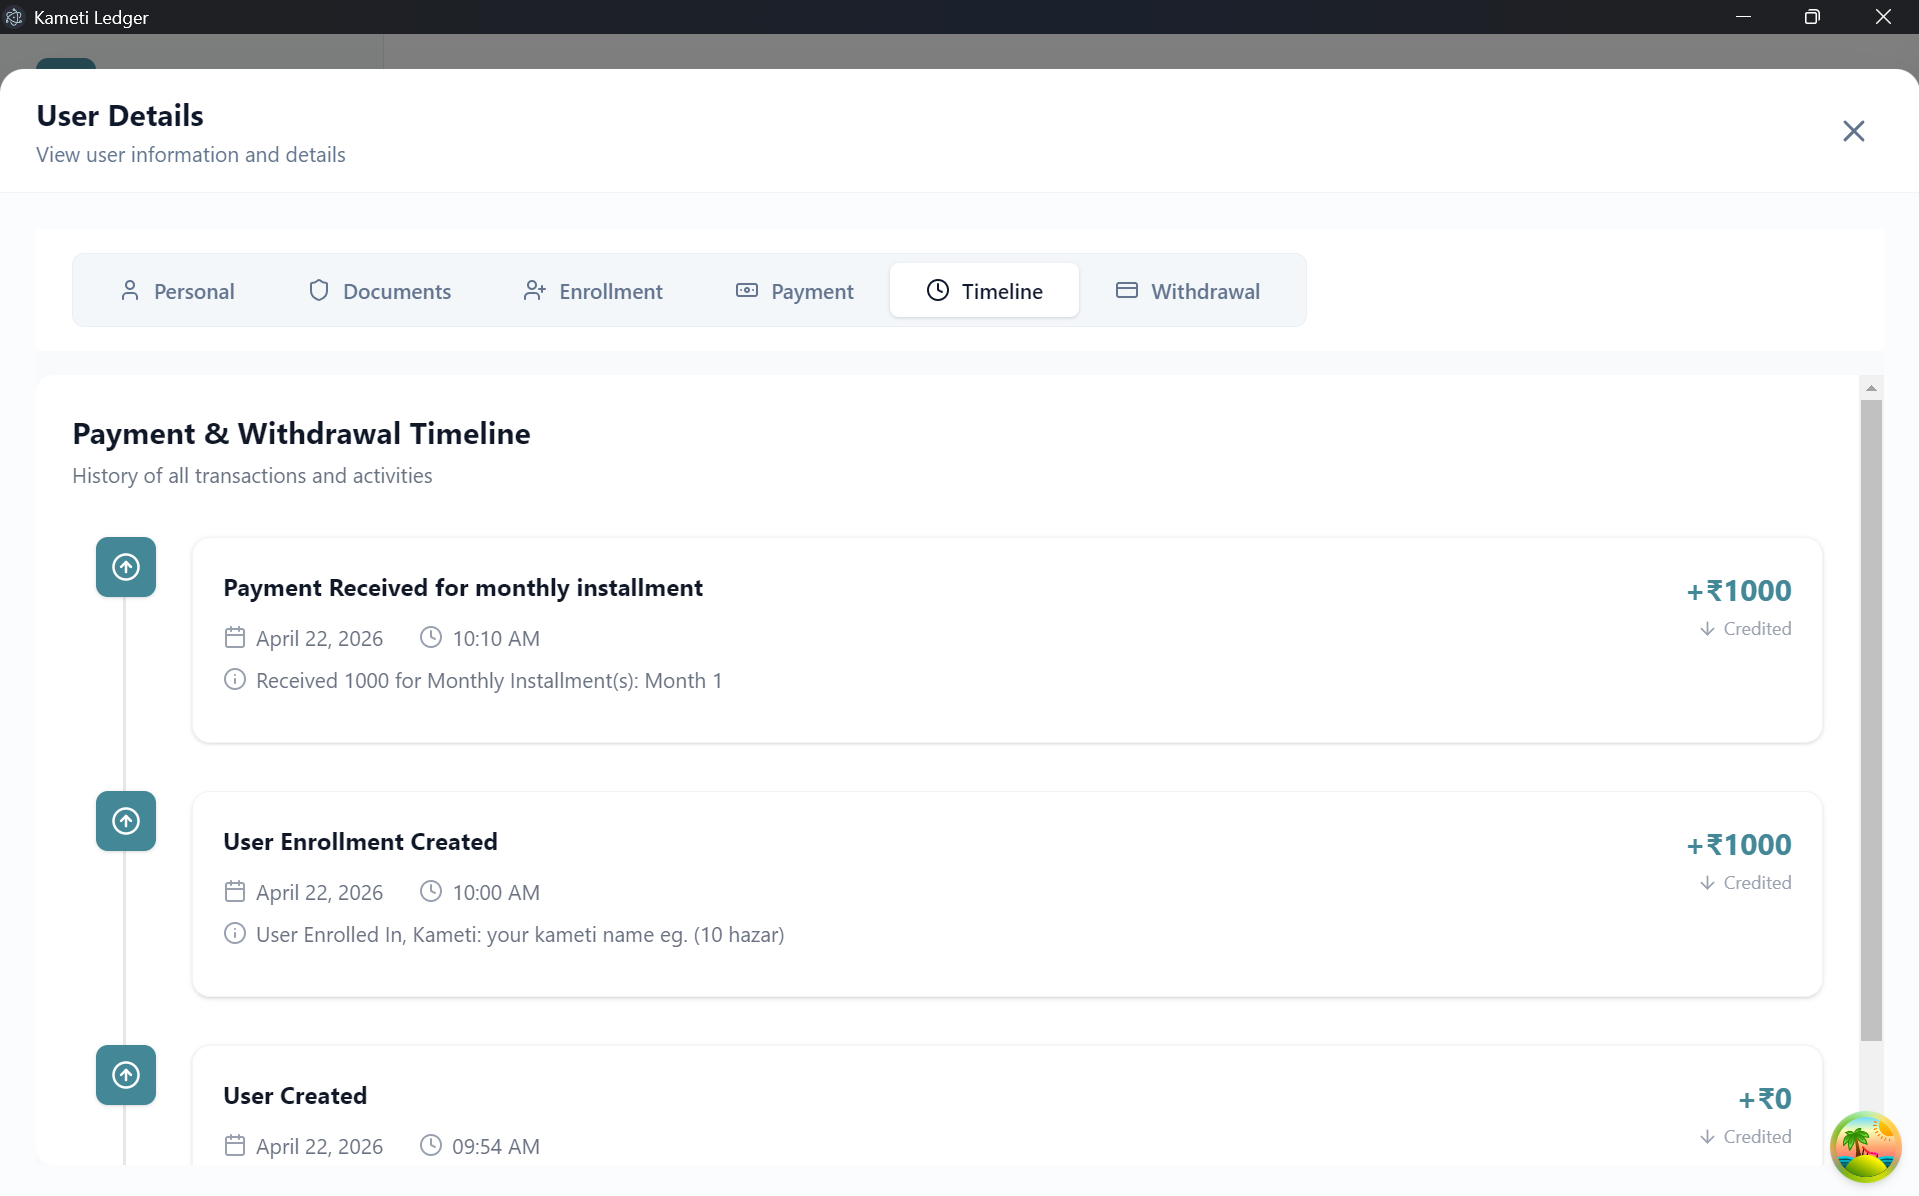
5. Timeline Tab
The Activity Timeline provides a transparent, chronological history of all user-related events. This includes when the user was created, when they were enrolled in a Kameti, and every payment received.
6. Withdrawal Tab
Manage and track all withdrawal requests for the user. It shows:
- Total Withdrawal Amount: Funds disbursed to the user.
- Request Status: Whether a withdrawal is Pending, Approved, or Rejected.
- Detailed Log: Information on which Kameti month the withdrawal belongs to and the payment mode used.